Each painter has somewhat various approaches as well as choices, yet the pros all understand the trade secrets.
1- Sand Away Flaws
You have to begin with a flawlessly smooth surface area to finish up with flawlessly repainted wall surfaces or woodwork. One professional informs PM that Sander would certainly be an extra suitable work title than Painter because he invests so much time pressing sandpaper.
Sand the wall surfaces from the wall to the ceiling with fine-grit fining sandpaper on a fining sand post. Do not place a great deal of stress on the fining sand post or the head can turn over and also harm the wall surface.
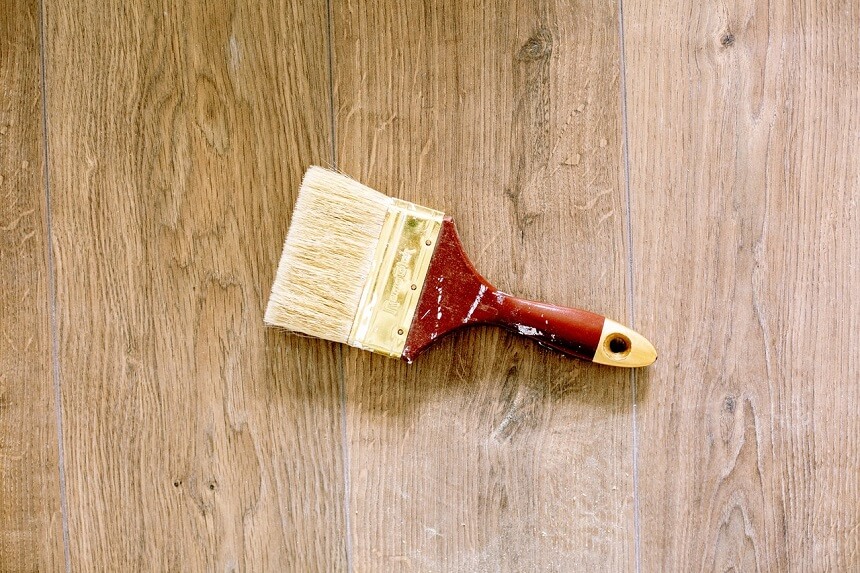
2- Buy the most effective Supplies
Do not affordable out on paint as well as brushes. That $3 plastic brush is going make it look like you smeared paint on the wall surface with a rake. You’ll be able to clean an unclean fingerprint off the wall surface without taking the paint with it.
3- Cover Furniture
If you can not relocate furnishings out of an area, relocate all of it to the facility of the space as well as cover and also cover it with plastic sheets that are taped near the bottom. This will certainly not just safeguard your furnishings from paint drips and also splatters, however additionally every one of the dirt from fining sand.
4- Use Tinted Primer
Prior to the pros paint wall surfaces, they load openings as well as spot splits with joint substance. If you paint straight over it, the substance will certainly draw the dampness out of the paint, providing it a level, boring appearance (an issue called “blinking”).
Rather than making use of a white guide, pros generally have it colored grey or a shade that’s comparable to the surface paint. The colored guide does a far better work of covering the existing paint shade than a simple guide, so your finish coat will certainly be extra dynamic and also might call for fewer layers. This is particularly real with shades like orange or red, which might need 3 or even more layers without a guide.
Also read: Schilder Den Haag
5- Press Tape With a Putty Knife
Absolutely nothing is a lot more frustrating when you’ve completed painting than to peel off tape off the woodwork and also uncover the paint hemorrhaged via. To prevent the pain-in-the-neck task of scuffing off the paint, do a complete work of sticking the tape prior to you begin.
And also, paint can trigger the tape to distort or obtain bumpy, which allows the paint to run beneath it. As well as it quits paint hemorrhage without distorting.
6- Eliminate Brush as well as Lap Marks With Paint Extender
The trick to a coating that’s cost-free of the lap as well as brush marks is blending a paint extender (additionally called a paint conditioner), such as Floetrol, right into the paint. It reduces down the paint drying out time, offering you a much longer home window to overlap just-painted locations without obtaining hideous lap marks that take place when you paint over dried out paint as well as dim the shade. Second, paint extender degrees out the paint so brush strokes are practically removed (or at the very least a lot less noticeable).
7- Use Canvas Drop Cloths
And also while plastic can have spills, the paint remains damp for a lengthy time. That damp paint can (as well as normally does) locate the base of your footwear as well as obtain tracked with the home.
Utilize what the pros make use of– canvas decrease towels. “Unless you’re painting a ceiling, you do not require a jumbo-size fabric that loads the whole space,” a proclaims.
8- Box Paint for Consistent Color
The “very same” shade of paint can range canisters. “That distinction can be glaringly apparent if you stand out to open up a brand-new gallon midway with a wall surface,” a retired painter informs PM. To make certain shade uniformity from beginning to end, pros blend their containers of paint in a five-gallon container (a procedure called “boxing”).
Some pros after that paint straight out of the pail. This gets rid of the demand to put paint right into a roller tray, though the hefty container is tougher to relocate.
9- Light It Up
It’s very easy to do, specifically with comparable shades. Obtain on your own a job light as well as examine your job, either as you go or when you complete an area. The most likely locations will certainly be around the sides, where you utilize a brush rather than a roller.
The paint will not bond to greasy or unclean surface areas, like cooking area wall surfaces over a range, mudrooms where youngsters start their sloppy boots and also mess up the wall surfaces, or the locations around light buttons that obtain knocked at with unclean hands. “I constantly utilize a degreaser to tidy dingy or oily surface areas,” a professional informs PM. “It punctures nearly anything you carry wall surfaces for much better paint attachment.”
Make certain to review the tag as well as adhere to instructions– this thing is powerful. Rubber handwear covers and also eye defense is needed.
10- Start with a Loaded Brush
They fill the lower 1-1/2 inches of their brushes with paint, touch each side versus the within of their container to knock off the hefty drips, and also after that begin painting. “It does not do you any type of excellent to soak your brush in paint, after that quickly clean it all off,” a 16-year professional painter states.
